
 Concrete Calculator | Solve Your Estimation Problems And Work out the amount of concrete you need.
How to Prepare Ground for a Concrete Slab
Call for today’s best price on: 0808 196 7812
When it comes to concrete laying, preparation is everything.
Although you may be tempted to cut this step short, just as much can go wrong here as it can with the concrete pouring itself. In fact, although it’s a simple process, missing out a step could cause significant issues with the pour, strength or durability of the concrete.
That’s why, below, we’ve shared our quick guide to ground preparation for concrete, including our expert tips for securing the best possible end result.
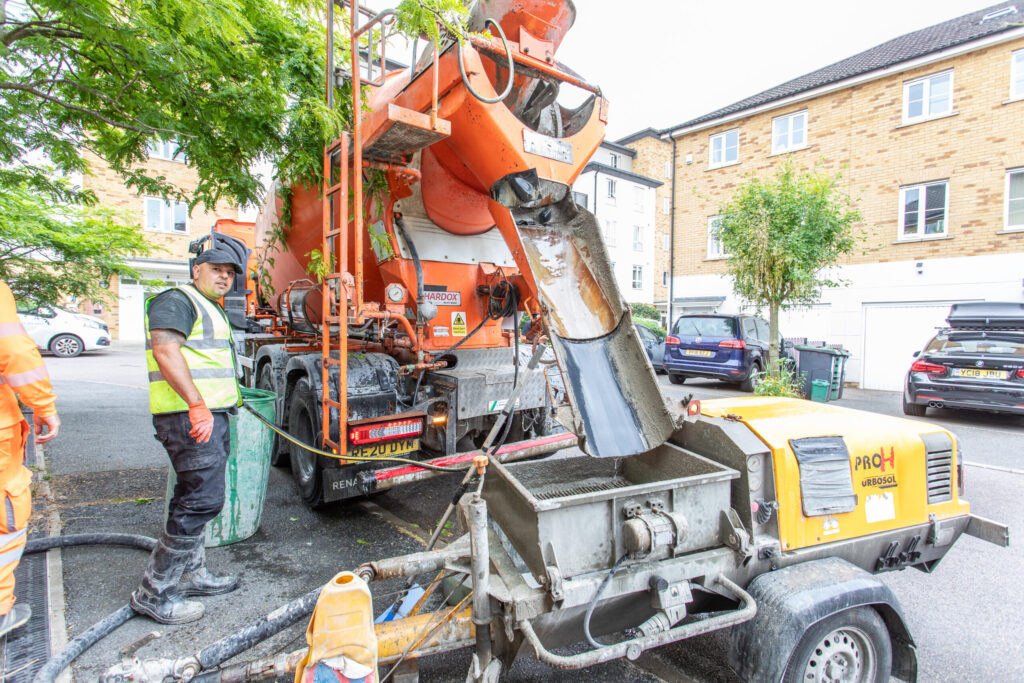
6 Step Guide to Preparing Ground for a Concrete Slab
1. Clean the Area
First, you will need to completely clear the area. Remove any debris, plants, rocks, vegetation, weeds, grass and other obstructions. This should leave you with a flat, completely clean area, which is free from obstructions.
2. Excavation
The excavation process involves digging out the base area to the depth required for the slab.
So, accounting for the thickness of the slab plus the base material (more on this below), dig out the base area to the required depth. As you dig, continue removing any plants, grass, stones or debris that you come across.
It is essential that you excavate the area evenly. Otherwise, this could seriously affect the structural integrity of your concrete. You can check the evenness of your base by using a spirit level.
3. Compact the Soil
Once the pit has been dug, you need to make sure the bottom is both level and compact. You can do this by using a roller or a tamper, and applying pressure to the ground.
To achieve the best results, avoid compacting the soil when it is wet. You can also test for any uncompacted soil by walking over the area, and identifying any softer spots or areas where you feel the soil shifting underfoot.
4. Lay the Base
The sub-base acts as a barrier between the concrete and the ground. This is key because concrete cannot be laid directly onto soft ground.
For a concrete slab, your base will consist of a combination of a layer of gravel, followed by a thinner layer of sand. These will need to be spread evenly across the area, before being firmly compacted in place.
Your base depth and material will vary, depending on the nature of the project. For example, see our guide on how to lay a concrete shed base to learn about the specific sub-base required for a shed base.
5. Framework
The next step is to frame the slab area, using a wooden frame (also known as the formwork).
Construct the wooden frame, so that it will go around the edge of your slab area. We recommend using treated timber, with the pieces drilled together.
Once constructed, position the frame into the base, and drive wooden posts into the ground around the formwork at regular intervals (to fix it in place). Check the framework with a spirit level, to ensure it is even throughout.
6. Pouring the Concrete
Finally, you can start pouring your concrete into the base. Carefully pour the concrete into the base, and use a shovel or rake to spread it across the entire area.
Then, once all the concrete is poured, tamp it in place, and wait for it to cure (it will take a minimum of 28 days for the concrete to be fully cured).
Order Concrete
iMix Concrete are ready mix concrete suppliers, trusted by homes, businesses and construction sites across London, Kent, Essex and the surrounding areas.
With a talented team of concrete specialists, and industry-leading equipment and delivery trucks, iMix Concrete can provide concrete for all project types, with a wide variety of strengths, grades and concrete varieties.
So, if you’re planning an upcoming project, or would like to learn more about our concrete supply and delivery services, our team are on hand to help.
 Independent Supplier