
CONCRETE CALCULATOR
Use our calculator to get a quote.
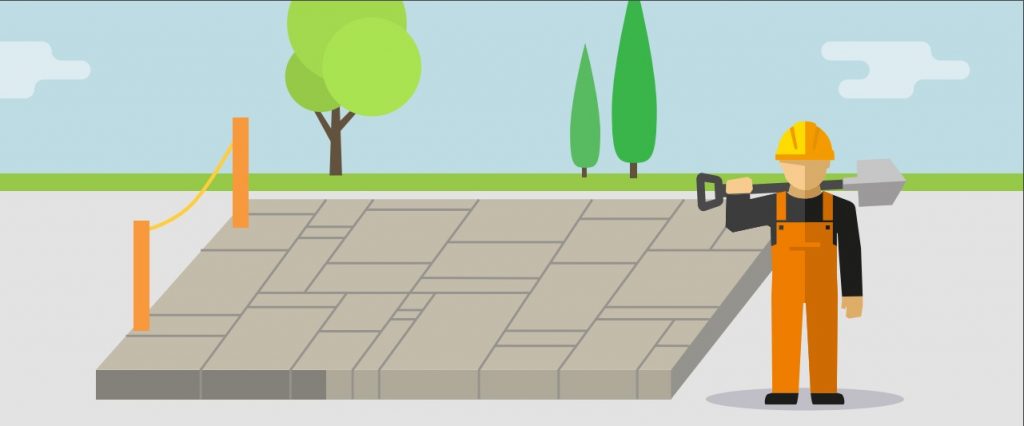
When the sun’s out and you’ve got some free time at home, there are few better things to do than sit outside in the garden on your own with a book or with your friends, family and some food. There’s nothing wrong with sitting on chairs on the lawn, but relaxing on garden furniture on a bespoke patio is tough to beat. Here, the team at iMix are going to run through what you need to know in order to lay a patio in your garden.
Step 1: Sizing and location
Before any you unload any slab or lay any concrete, you must know the exact dimensions that your new patio is going to have. The reason for this is to ensure that you know how much concrete is going to be needed for your patio.
We also recommend that you are aware of the location of any septic tanks and pipes are located before deciding where to lay a patio, as this can affect the process. It’s also worth opting for an even patch of land where possible, so you don’t have to spend time levelling the ground before laying the concrete.
Step 2: Stakes
By using stakes to pinpoint the corners of your patio area so you can get an idea of how much space it’ll take up in your garden. If you find that your chosen area is uneven, you can either build up the lower side, or dig out the higher one. Hold the stakes in place by running and tying string around each one.
Step 3: Clear the area
Weeds, roots, grass and topsoil: all of these things need to be removed from your designated patio area before you can start laying the concrete.
Step 4: Prepare the base
Do you want your patio to be raised or level with the ground? For the former, dig down about 4 inches/10 centimetres or dig 8 inches/20.3 centimetres deep for a level patio. The earth might need to be compacted, and if you’re planning to use your patio for something like a heavy furniture set or a brick barbecue, then it is recommended that you lay a concrete foundation beforehand to boost the strength and stability of the base.
Step 5: Aggregate layer
Add about 4 inches/10 cm crushed rock or gravel to create an extra layer over the compacted earth. Ensure it’s laid evenly and compacted, as this will help minimise fluctuation over time, which can cause problems for the patio itself.
Step 6: More stakes
Time for the stakes again! This time, drive some stakes into the ground around the perimeter of your patio space. The stakes should be at least 2 feet apart, and placed slightly outside the original stakes. Use strong wood for this – wet concrete can bend and break wood.
Step 7: Frames
Also known as forms, these wooden barriers help keep the concrete in place. Cut a selection of 2×4 planks so that when joined up, the inside dimensions are equal to the patio area – don’t count the edge of the frame in your dimensions, as your patio will end up being smaller than you desired once you’ve removed the forms.
Once you have nailed the forms into place, saw off the top of the stakes so that they are not visible above the concrete. Be sure to coat a layer of vegetable oil or releasing agent onto the boards – this will stop the concrete sticking to them.
Step 8: Concrete
This is where iMix comes in. Following a conversation with you and the arranging of the job, we will mix your concrete for you either at our mixing plant or on site with you. If you’ve used our concrete calculator to work out how much you need, or if you have no idea what your required amount is, we can provide the perfect quantity and quality of mix.
Step 9: Pour
Taking care not to disturb the forms, pour the concrete into the patio space. Pour the entire batch of concrete at once to avoid any shifting of slabs. Use a shovel to push the concrete right into the corners of the area to ensure all parts are covered. Once poured, use a 2×4 to level off the top of the mix.
Step 10: Finishing touches
Using an edging tool, sliding between the forms and the concrete, you can create a rounded edge for the concrete. A while after you pour, the concrete should be able to support your weight – when it can do this, cut grooves into the concrete every 8 feet. These grooves will help stabilise the concrete if there’s any shifting.
Step 11: Curing
Cover the concrete with a plastic sheet or a curing compound and leave to set for at least two days.
There you have it – we’ve broken down the process of laying a patio, so now all you need to do is get in touch with us today.
Use our handy concrete calculator or contact our friendly team on 0800 030 9015 to talk about the type and amount of concrete you need or how to lay concrete, we are always happy to help, so don’t hesitate to contact us!


